Self-stick wallpaper offers affordable and traditional wall coverings. Self-adhesive wallpaper does not require any messy paste. However, installing removable self-stick wallpaper is not as simple as peeling off the backing & sticking it into a wall. A few tricks also come in handy to help you get a smooth look.
How to hang self-stick wallpaper
This wallpaper is best for walls with smooth texture. Ensure that the amount of removable is carefully measured.
Step-by step-installation
These instructions apply self-stick wallpaper and add color and pattern to your area/space.
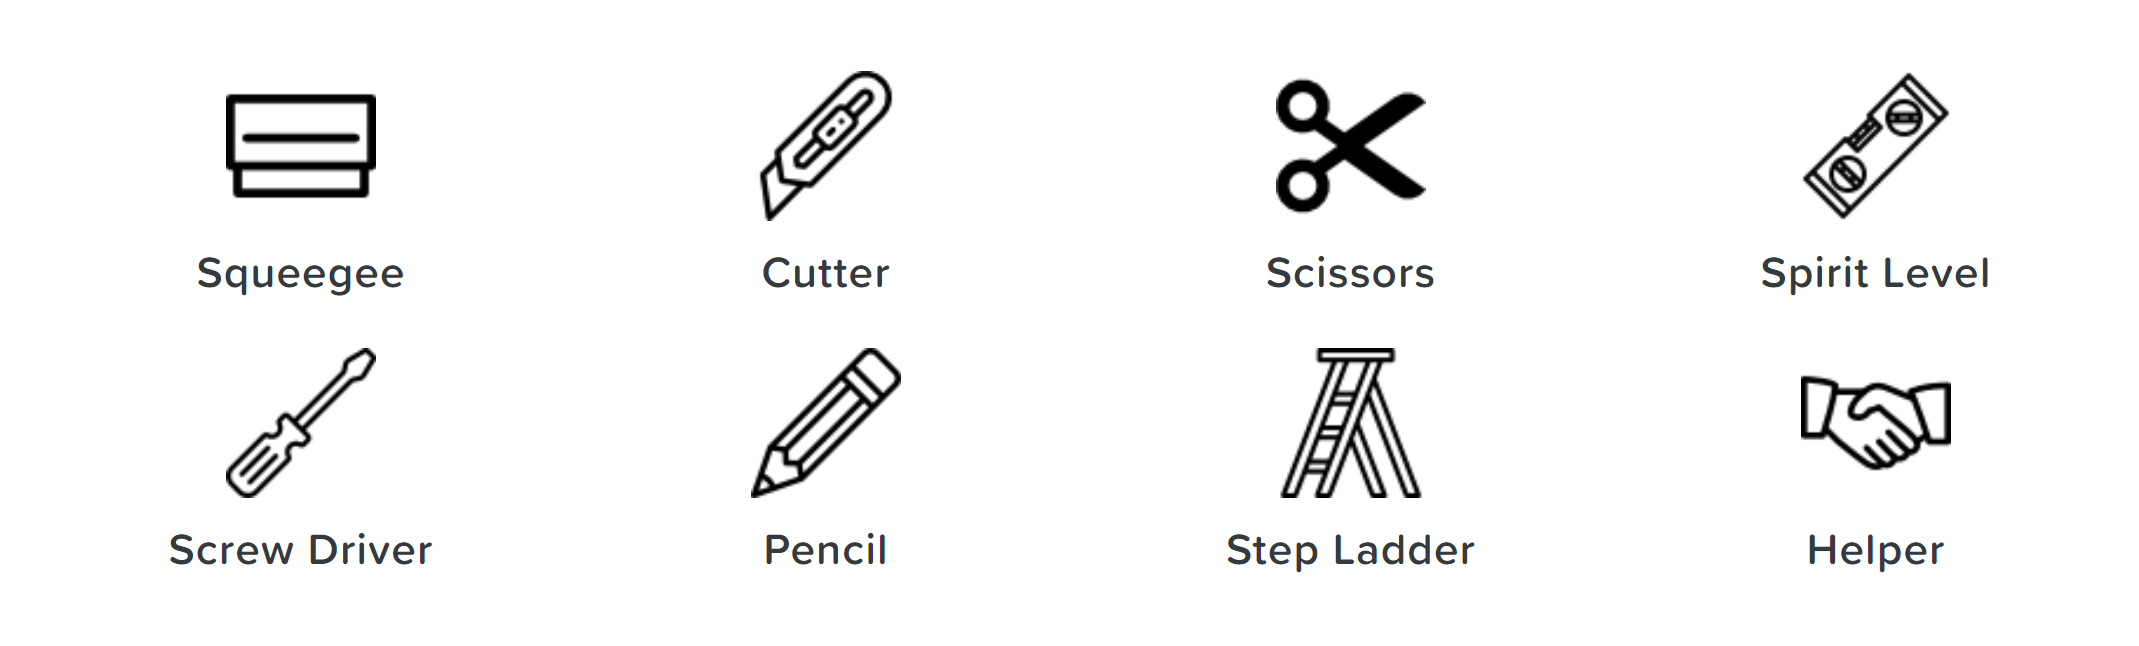
To hang self-stick wallpaper, you’ll need a few tools including a squeegee, scissors, spirit level, screwdriver, pencil, cutter, step ladder, and even an extra set of hands. Ensure you’ve got all the right equipment before getting started to ensure the job is done quickly and correctly.
Step 1: Prepare the Wall with self-stick wallpaper
Turn off the power to safety and remove covers and light switch plates in the area you plan to cover. Clean the wall surface by wiping it down with a sponge or a mild, non-abrasive cleaner. Allow the surface to dry completely. Some self-stick wallpaper also is acclimated to the room.
Step 2: Create your first guide
Measure the widths of self-stick wallpaper, then transfer the measurements to your walls. Drawing a line from the ceiling to the baseboard with a straightedge and a level will help you see where your marks are. Help you with the first step of wallpaper in a straight line.
Step 3: Apply self-stick wallpaper
The wallpaper should be self-stick, so remove the backing and align it with the lines you have drawn. Peel off the remaining backing while pressing and smoothing the wallpaper against the wall from the upper point down. Bubbles are removed by using strokes along with the wall. Carefully cut along the baseboard and remove excess with a small utility knife.
Step 4: Match Patterns and Repeat
When implementing consequent pieces, fix up the wallpaper’s sample for ensuring a seamless look. Overlap the second piece moderately with the 1st and run the smoothing generator along the seam to make it lay as horizontally as conceivable. Dapper at the backside as wanted and recount to mask all surfaces.
Step 5: Work Around Windows and Outlets
Let the self-stick wallpaper overlap window frames, door frames, and outlets when you reach them. Trim and remove the excess with a straightedge and utility knife after the piece is applied. The paper must then be smoothed against the wall on all sides of the outlet or window. Use a utility knife to carefully cut away the paper covering electrical outlets and switch plates while the power is still off.

FAQs
Is self-adhesive wallpaper the same as peel and stick?
Peel and stick wallpaper, also known as detachable or self-adhesive wallpaper, is a wallpaper that comes with a sticky backing and is applied likewise to a window decal. This write of wallpaper is fun as a temporary approach and the removal technique makes it a top option for several renters.
Is peel and stick wallpaper worth the money?
When it comes to saving time, money, and effort, peel-and-stick wallpaper is the obvious choice. If you have any doubts about the design or think you may grow tired of the loo in a couple of years, then changing it could be a great option.
Are peel and stick wallpaper easier to install than paste?
Since peel-and-stick wallpaper is DIY-friendly, it is easier to install since it does not require the use of paste or other tools once cut. In spite of this, the peel-and-stick paper doesn’t leave you much room for straightening it once it’s on the wall.
Do you need water to peel and stick wallpaper?
Wallpaper that peels and sticks is like a sticker. In contrast to water activated wallpaper, you shouldn’t let it get wet during installation. The adhesive side is revealed after peeling off the paper backing.

